Use the Pie Medical, MRV interface

The DICOM Viewer has a built in interface for selection of stacks, to be analyzed by the MRV (Magnetic Resonance
Ventricular) package of Pie Medical. For use of this MRV package,
please consult it's help function.
The MRV interface in the DICOM viewer is only available in the overview window and can be operated by the 2 buttons
'Sort with MRV' and 'MRV Analysis', placed above the series list box. If these buttons are not shown, you can force
them by starting the viewer with '-piemrv' as argument.
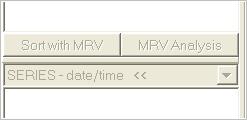
The MRV interface buttons are visible: MRV interface is available
To ensure that the link to the MRV package is correctly entered, go to the settings, tab 'Pie Medical Interface'
and check or set the field 'MRV application'. Press the 'Browse' button to set the link.

The link to MRV is set
The 6 steps to select stacks and start MRV:
- 1. Load images
- 2. Select a patient and study
- 3. Sort the images
- 4. Open the interface
- 5. Select stacks into interface
- 6. Start the MRV application
1. Load images
Before the interface can be used, load images of a patient. See 'Building an
overview' how to do this.
2. Select a patient and study
When the images are loaded, choose a patient name to view the studies and select a study. The 'Sort with MRV' button
will now be enabled.
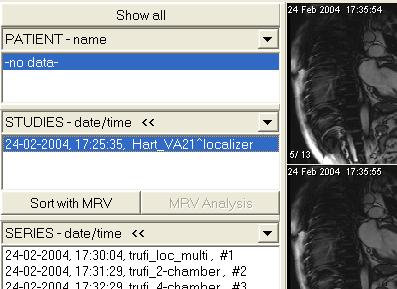
Patient and study selected, 'Sort with MRV' available
3. Sort the images
Press the 'Sort with MRV' button to sort the images in to stacks, using the sorting algorithm of MRV. This may take a
while.

Waiting for MRV to finish sorting
After sorting, and stacks are found, the 'MRV Analysis' button will be enabled.
Once a study has been sorted, there is no need to sort it again. Just select the study, and the 'MRV Analysis' button
will be enabled automatically.
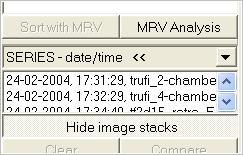
'Show image stacks' button pressed, 'MRV Analysis' button available
4. Open the interface
Press the 'MRV Analysis' button to open the interface.
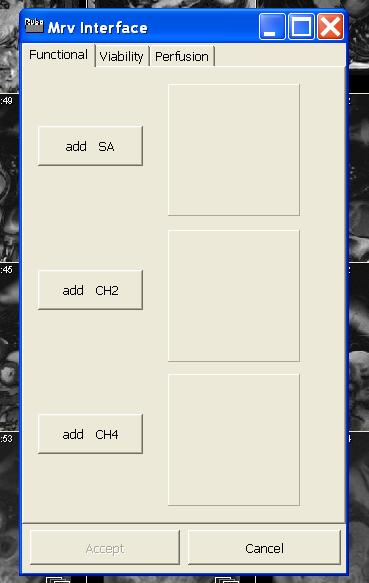
MRV interface
The interface shows 3 tabs: Functional, Viability and Perfusion. The Functional tab can be filled with SA (short axis),
2CH (2-chamber) and 4CH (4-chamber) stacks. The Viability tab is for DE (delayed enhancement) stack selection and the
Perfusion tab holds FP1 (first pass perfusion, 1st series) and FP2 ((first pass perfusion, 2nd series) selections.
FP2 can only be filled with a selection if the FP1 is used.
For more information about the selection possibilities, see the help function of the MRV package.
5. Select stacks into interface
Select a stack by highlighting/clicking it in the overview window. Now press i.e. the 'add SA' button in the Functional
tab to select this stack in to the interface. Do the same to select other stacks. After a selection has been entered in
to the interface, the button changes from 'add SA' to 'remove SA'. Press the button again to remove your selection.
The text in the icon image shown in the interface, shows the number of slices and phases in the stack.
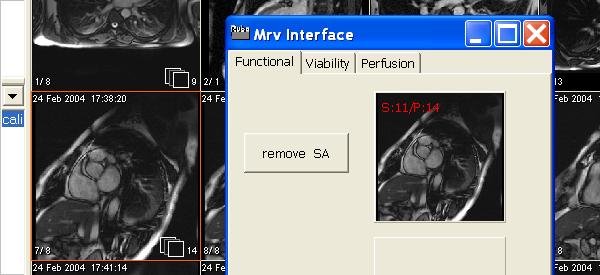
Stack highlighted and selected as 'SA' (11 slices, 14 phases)
It is also possible to make a selection for the interface by highlighting a series. Press i.e. 'add SA' to transfer it
into te interface.
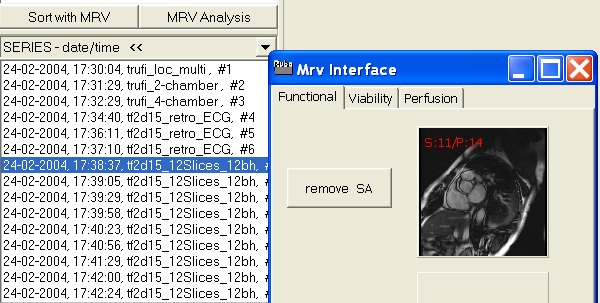
Series selected and added as 'SA'
6. Start the MRV application
After selections are added to the interface, press the 'Accept' button to start the MRV package. The
interface will be closed. Cancel the interface by pressing the 'Cancel' button.
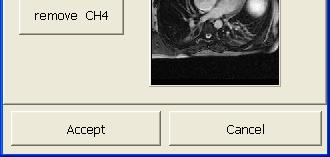
Accept to open the MRV package
